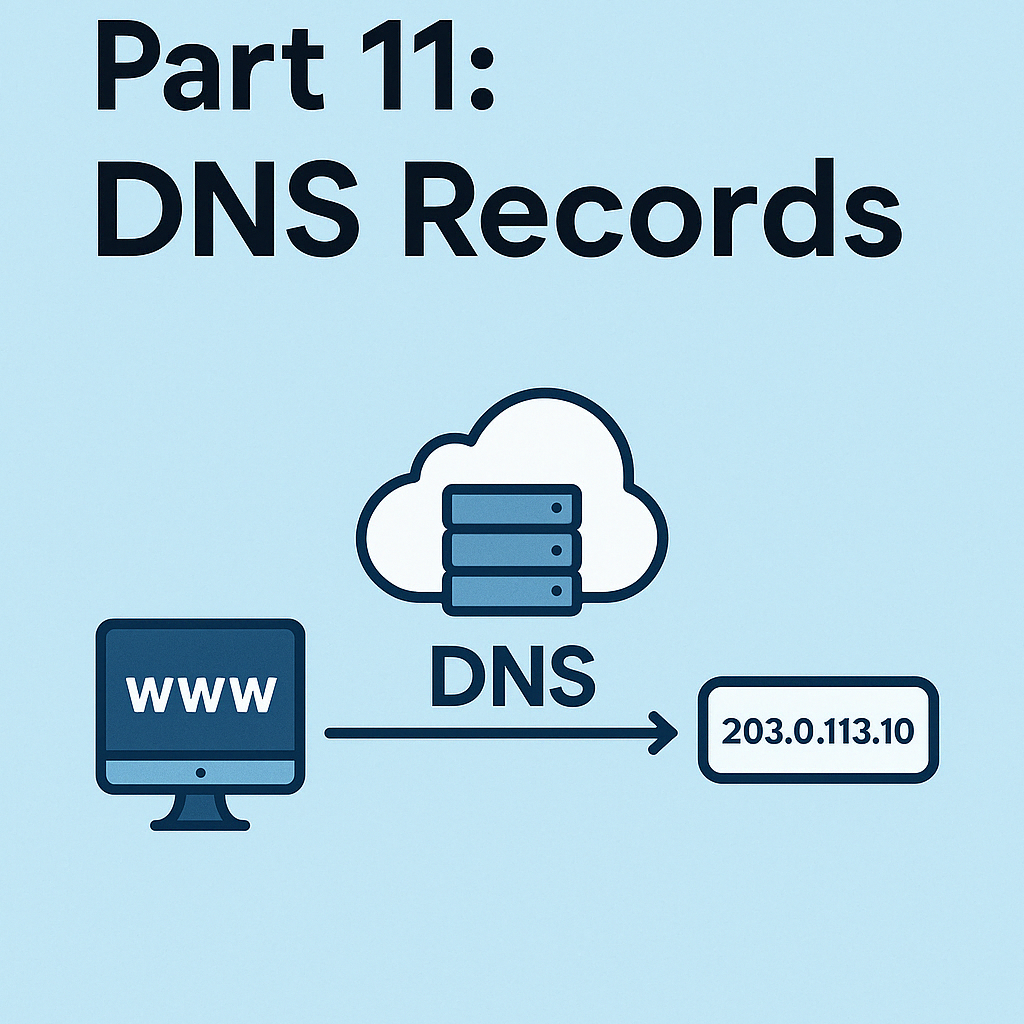
The next step toward making our application production-ready is to secure it with SSL. But before we can do that, we need to set up a domain and point it to our server.
If you don’t already have a domain, you’ll need to purchase one to follow along. There are affordable options available—some as cheap as a few dollars per year. That said, if you want to keep things free, feel free to skip this step and use your droplet’s IP instead.
📍 Step 1: Point Your Domain to DigitalOcean’s Nameservers
We’ll be using DigitalOcean DNS to manage our domain records, but before we can do that, we need to tell your domain registrar to delegate control to DigitalOcean.
This is done by updating your nameservers.
If you’re using Squarespace like I am, here’s the official guide:
🔗 How to update nameservers on Squarespace
If you’re using a different provider (like GoDaddy, Namecheap, Google Domains), the process will be very similar. You’ll need to replace your domain’s default nameservers with the following DigitalOcean nameservers:
ns1.digitalocean.com
ns2.digitalocean.com
ns3.digitalocean.com
🧠 What Are Nameservers, Exactly?
Nameservers are like the entry point to your DNS configuration. They tell the internet which DNS provider is in charge of resolving records for your domain.
If the domain is like your mailing address, then the nameservers are the postal service that know how to get messages to the right place.
Once your domain points to DigitalOcean’s nameservers, you’ll be able to manage all your DNS records through Terraform and the DigitalOcean API.
🧠 DNS Records, Explained
🗂 DNS in Simple Terms
Think of DNS (Domain Name System) as the phone book of the internet. When someone tries to visit tutorial.yourdomain.com, DNS translates that name into an IP address so the browser knows where to go.
On Linux, the DNS system is kind of like a more powerful, distributed version of your:
/etc/hostsfile – which maps IPs to hostnames manually/etc/resolv.conf– which tells the system which DNS servers to ask
But instead of being hardcoded per-machine, DNS works on a global scale, automatically syncing updates worldwide.
🔧 Common DNS Record Types
- A record: Maps a name (like
yourdomain.com) to an IPv4 address. - CNAME: Creates an alias (e.g.,
wwwpointing toyourdomain.com). - TXT: Used for metadata—SPF, domain verification, etc.
- MX: Mail exchange record (for email servers).
- @ symbol: Represents the root domain (e.g.,
yourdomain.com). www: A common subdomain, often pointed to the same IP.
🛠 Step 2: Create DNS Records with Terraform
Let’s get back into our Terraform configuration:
cd terraform
touch dns.tf
Add the following to dns.tf:
resource "digitalocean_domain" "this" {
  name = "<your domain>"
}

resource "digitalocean_record" "this" {
  domain = digitalocean_domain.this.name
  type   = "A"
  name   = "@"
  value  = digitalocean_droplet.web.ipv4_address
}

resource "digitalocean_record" "www" {
  domain = digitalocean_domain.this.name
  type   = "A"
  name   = "www"
  value  = digitalocean_droplet.web.ipv4_address
}
🔍 What this does:
- The
digitalocean_domainresource registers your domain with DigitalOcean DNS. - The first A record points
yourdomain.com(represented by@) to your droplet. - The second A record points
www.yourdomain.comto the same IP.
This ensures that both yourdomain.com and www.yourdomain.com lead to your app.
🚀 Step 3: Apply the Configuration
Run:
terraform plan
terraform apply
You might need to wait a few minutes for DNS propagation, but after that, your app will be reachable at your domain:
curl http://<dns name>/todosYou should see your todo list returned just like before—only now, with a friendly domain name!
✅ Summary
In this article, we:
- Verified that our app is now accessible via a custom domain 🎉
- Explained the basics of DNS and nameservers
- Pointed our domain to DigitalOcean’s nameservers
- Used Terraform to create DNS A records for our root domain and
www - Verified that our app is now accessible via a custom domain 🎉
🔜 Next Up…
In the next part of the series, we’ll use Certbot and Ansible to install SSL certificates so that your site is secure and served over HTTPS.
See you there! 🔐✨

Leave a Reply